Just getting started with sensory bins? You are in the right place! This post is going to cover all of the sensory bin basics including the benefits, how to set one up, who can use them, ideas for materials and clean up!
I feel like I need to start this post with letting you know that I am really a nerd about this type of thing. I went to get a pedicure a few weeks ago and took the book, What’s Going on in There? How the Brain and Mind Develop in the First Five Years of Life to read while I relaxed. I know, I’m a little intense. But, if you are also into child development HERE are my favorite parenting and child development books. I just don’t want you to feel bad if you don’t know much about sensory bins to start with, you are actually the normal one!

What are sensory bins?
Sensory bins are just a fancy name for a bin of stuff that kids (or anyone) can touch, taste, smell, see and/or hear. That’s it! I was explaining sensory bins to my husband and he’s like, “So I could just throw anything in this bucket and let EK play with it and call it a sensory bin?” Yes dear, pretty much. Using the word “sensory bin” just makes you feel more like an all-star parent or educator. Sometimes you will hear them called discovery bins too!

What are the benefits of sensory bins?
Just for fun, I googled the phrase “sensory bin benefits” and Google found almost 4.4 million results for me! So there are a lot! Here are a few benefits that I think are most notable:
- Encourages play, curiosity and exploration of the world
- Strengthens motor skills
- Opportunities for critical thinking and problem solving
- Supports language development
- Fosters independence and pretend play
- Promotes self control
Who can play with sensory bins?
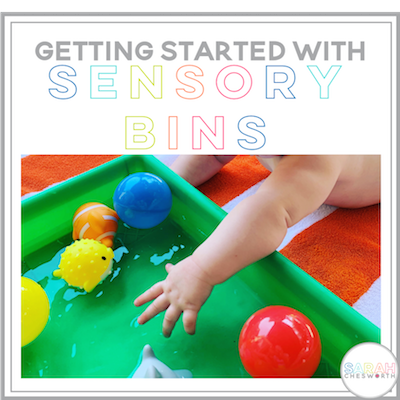
ANYONE! I started doing VERY simple sensory bins with EK as soon as she was able to support her head well during tummy time! Of course, you ALWAYS want to supervise any sensory play very carefully, especially with babies and toddlers. Anything can really become a choking hazard! Sensory bins can be differentiated for any age learner. And let’s not forget that older kids need play just as much as the littles. If you think about it, sensory bins allow children to do what they normally do, EXPLORE!

What do I need to make sensory bins?
Honestly, nothing. You can probably make hundreds of sensory bins just using the items around your house that you already have!
The most important thing you will need is a bin or bucket. If you are are making a sensory bin that will be used for multiple children, it might be a good idea to use an under bed storage bin. If not, you can really use any bin or bucket you have! Dish pans, metal cake pans and plastic storage buckets all work just fine! Just make sure your child has enough space to dig, play and explore without everything ending up everywhere. I do recommend finding something with a lid through so you can easily keep and store it!
Many sensory bins start with a filler item, but there are no hard rules. The filler item sort of gives littles a base for littles to dig, stack, scoop and move. Here are a few common (and easy) filler ideas
Sensory Bin Filler Ideas:
- Water (one of my favorites)
- Beans
- Pasta
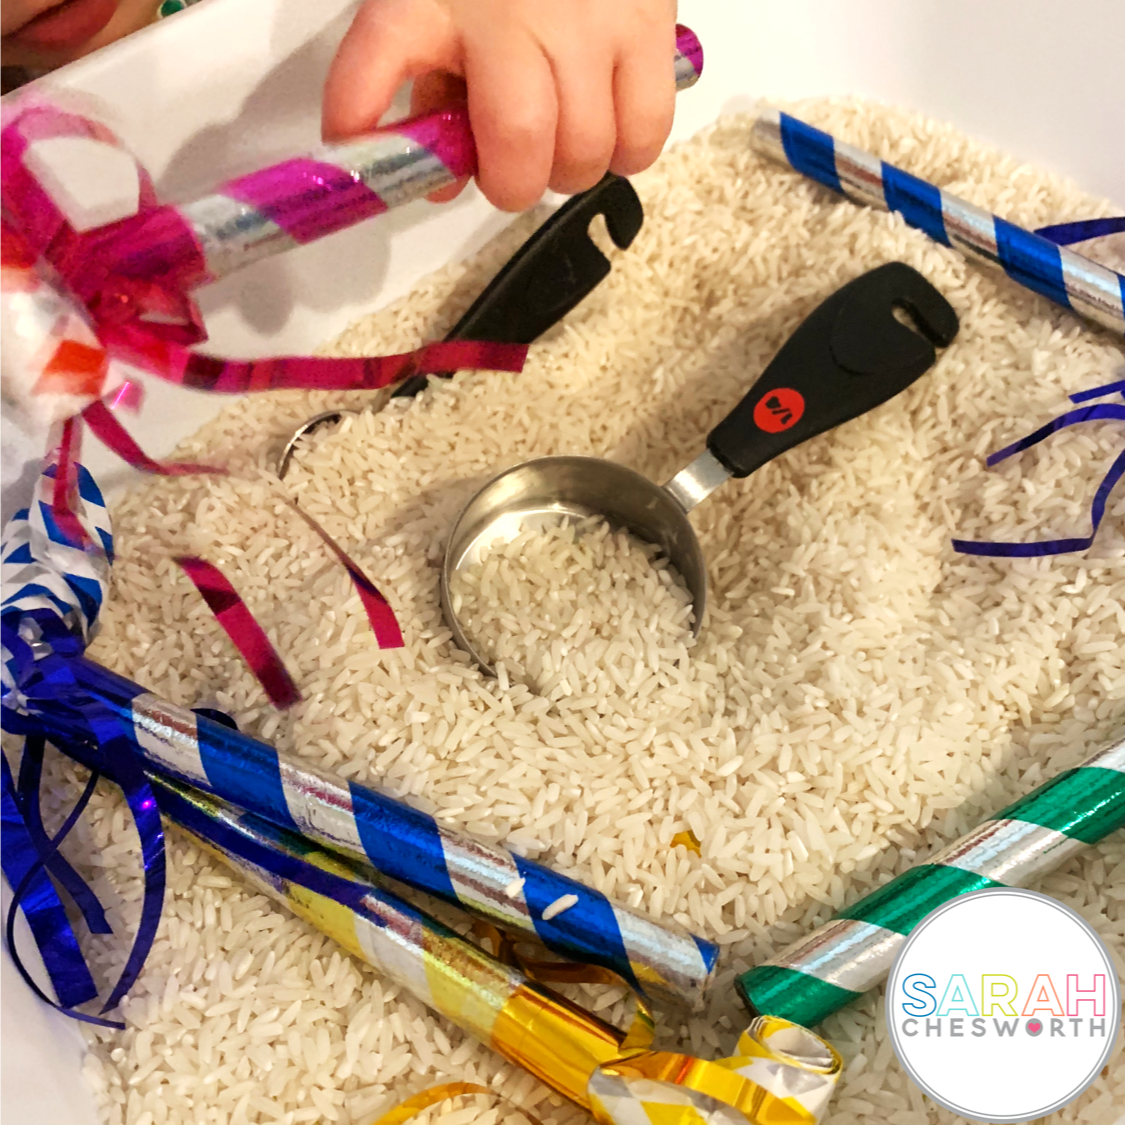
- Rice
- Shreds of Paper (Does your office have a shredder?)
- Oatmeal
- Cooked Spaghetti
- Cornmeal
- Cereal
- Pom pom balls (I recommend a pack like this to encourage sorting!)
- Cotton Balls (These are legit a penny a piece.)
- Yarn
- Water Beads (Have you ever played with these? Both fascinating and creepy…)
- Kinetic Sand (I really love this stuff!)
- Soil
- Sand
- Rocks
You can invest in some exploration tools (here is a great set) or just open your kitchen drawers and pull out what you have! You can also make a run to the dollar store for some measuring cups that can just always be used with the sensory bin!
From there you can add anything! The sky is the limit! Sensory bins are fun to make to go with different holidays, seasons or themes too! Here are a few ideas to get you started:
- Plastic animals
- Foam Letters and shapes (Do you already have these in the bathtub?)
- Items from nature (leaves, pinecones, sticks)
Sensory Bins and Academics
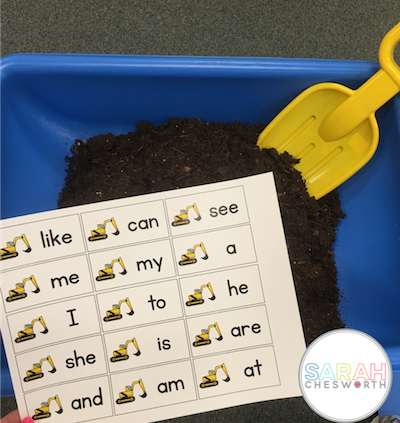
Sensory bins are also easy to integrate with academic concepts too! I just cut up these words and added them to some dirt during our Constructing Sentences activities. For this sensory bin, students would dig out sight words and write a sentence with them.
How do I contain the mess of sensory bins?
You will definitely want to put some boundaries in place for when and where sensory bins can be used and played with! Maybe it’s a fun activity for while you are cooking dinner that can be used on the kitchen tile and not a before bedtime on the rug type of thing. It’s definitely a great time to work on self control and keeping items in a contained space. Don’t be afraid to set guidelines and stick to them. I really like promoting independence, so give your child the tools they need to clean up! It may be worth investing in this! Our school librarian used it with sensory tubs in the library and it worked great! A lot of people will also use old towel and sheets under the bin! I prefer to just whip out this bad boy! I also love doing sensory bins outside on nice days! You’ve got this!

Looking for more sensory ideas?
30 Winter Sensory Bin Ideas
Baby Sensory Play with Fruit
Hot Chocolate Play Dough

